Batch rendering in 3ds Max without locking your workstation
How to configure native 3ds Max Batch Render queues, why overnight jobs fail silently, and how to run background renders with automatic crash recovery.
Delivery mornings in architectural visualisations often begin the same way: an artist sits down at their workstation, moves the mouse, and discovers 3ds Max frozen on a modal crash error. Out of five cameras scheduled the previous night, only one finished saving to disk.
The native 3ds Max batch rendering tool handles sequential camera execution, but locks down your computer for the entire run and stops dead at the first glitch.
This guide explains how to set up the native 3ds Max queue, highlights the bottlenecks behind overnight failures, and shows how to run batch renders in an isolated background process.
The true cost of locked rendering: queue math
In scenes with global illumination and heavy displacement, leaving a queue to run overnight unattended poses a chronic risk: a single memory spike brings the whole pipeline down.
Example: 5 cameras of 90 min each
Imagine a queue with 5 cameras of 90 min each and a crash at 01:15:
| Parameter | Unattended native Batch | Smart Batch PRO |
|---|---|---|
| Estimated time per camera | 90 min | 90 min |
| Completed cameras after crash | 1 of 5 (20%) | 5 of 5 (100%) |
| Crash recovery | None (frozen process) | Watchdog resumes in 30–60 s |
| Workstation use during render | UI completely locked | Background execution (machine stays free) |
| Texture path check | Does not check texture paths before each camera | Asset Checker detects broken CoronaBitmap paths |
| Alerts and monitoring | None | Telegram notifications with preview |
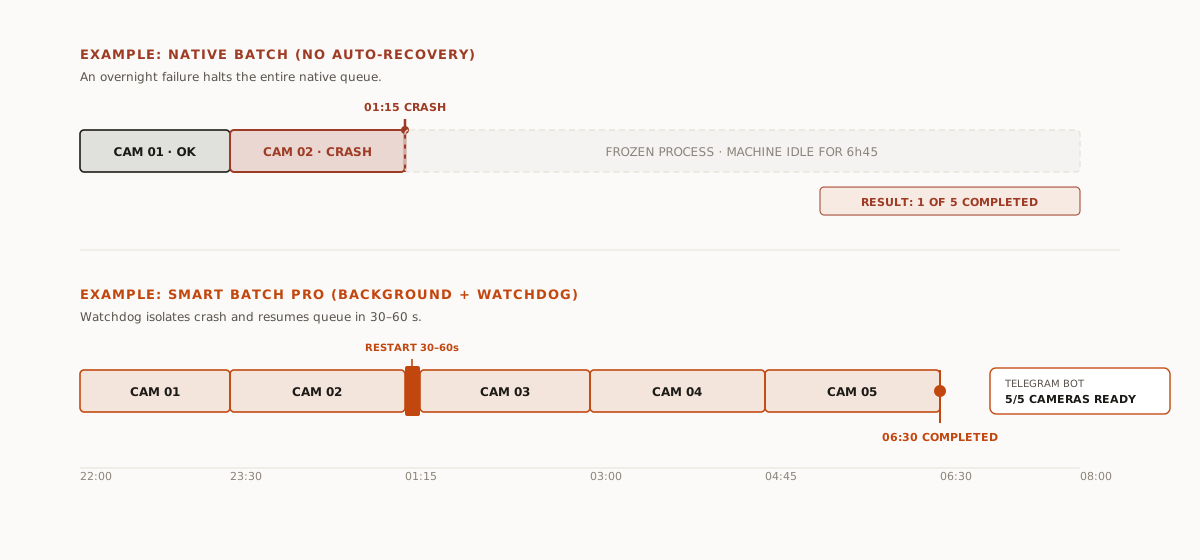
Without an external watchdog process, any unhandled exception locks up the session and ruins morning client deadlines.
Manual queue setup with native Batch Render
3ds Max includes a built-in dialog in the main menu to chain rendering tasks.
- Open your scene and choose Rendering > Batch Render… from the top menu.
- In the Batch Render dialog, click the Add button to create your first queue task.
- Under Task Parameters, assign a name in the Name field and pick the target camera from the Camera dropdown.
- Click the ellipsis button beside Output Path to define the destination
folder, output file name, and format (such as
.exr,.tif, or.png). - If this camera requires dimensions different from the global Render Setup, check Override Preset or pick the matching Scene State from the list.
- Repeat steps 2 through 5 for every camera required for the delivery.
- Once the task list is populated, click Render in the lower-right corner to start the queue.
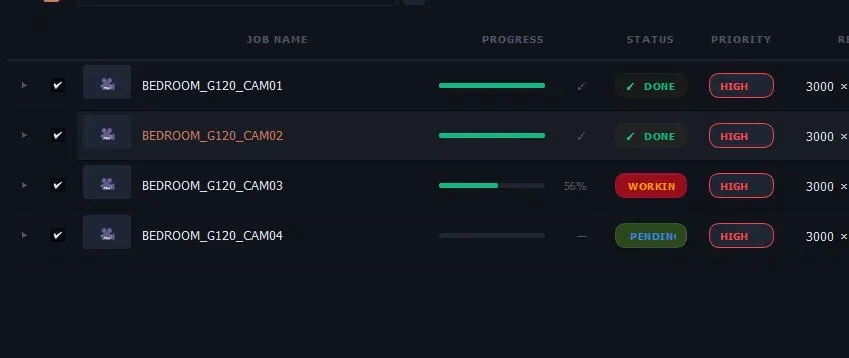
3ds Max begins rendering the first camera in the list, calculating irradiance and geometry passes as defined in Render Setup.
Where the manual method breaks down
The native Batch Render works adequately for light scenes and quick passes. On commercial production files, it runs directly into deep architectural limitations:
- The user interface is completely locked. The render runs on the same main thread that drives the 3ds Max viewport and menus. You cannot navigate, tweak materials on another asset, or continue modelling. The machine belongs entirely to the render process until completion.
- Zero failure tolerance. If camera 2 triggers an out-of-memory error due to a high-poly proxy or displacement calculation, 3ds Max halts with a crash dialogue. The entire queue is aborted. Cameras 3, 4, and 5 never start.
- Texture paths are not verified. Native Batch does not check texture paths before each camera. If a network drive dropped out or a bitmap link broke, the scene renders with missing textures.
- Repetitive destination folder edits. When a client revision changes the
delivery path from
/Rev01/to/Rev02/, you must open and change the Output Path on every single camera task by hand.
When deadlines are tight, leaving your delivery to an unmonitored queue that cannot recover from a crash is an unnecessary gamble.
The same queue, backgrounded with automatic recovery
Smart Batch PRO replaces the native modal dialog with an independent render queue manager built for 3ds Max (2022 to 2026) and Corona Renderer. It isolates rendering from the workstation GUI and actively safeguards queue execution.
- Open the Smart Batch PRO interface.
- Configure scene cameras with Per-Camera Overrides: resolution, passes, noise threshold, and output can be set individually per camera or inherited from Render Setup.
- Set a single destination folder with Global Output — all cameras save automatically in the same place, without configuring path by path.
- Start background queue execution.
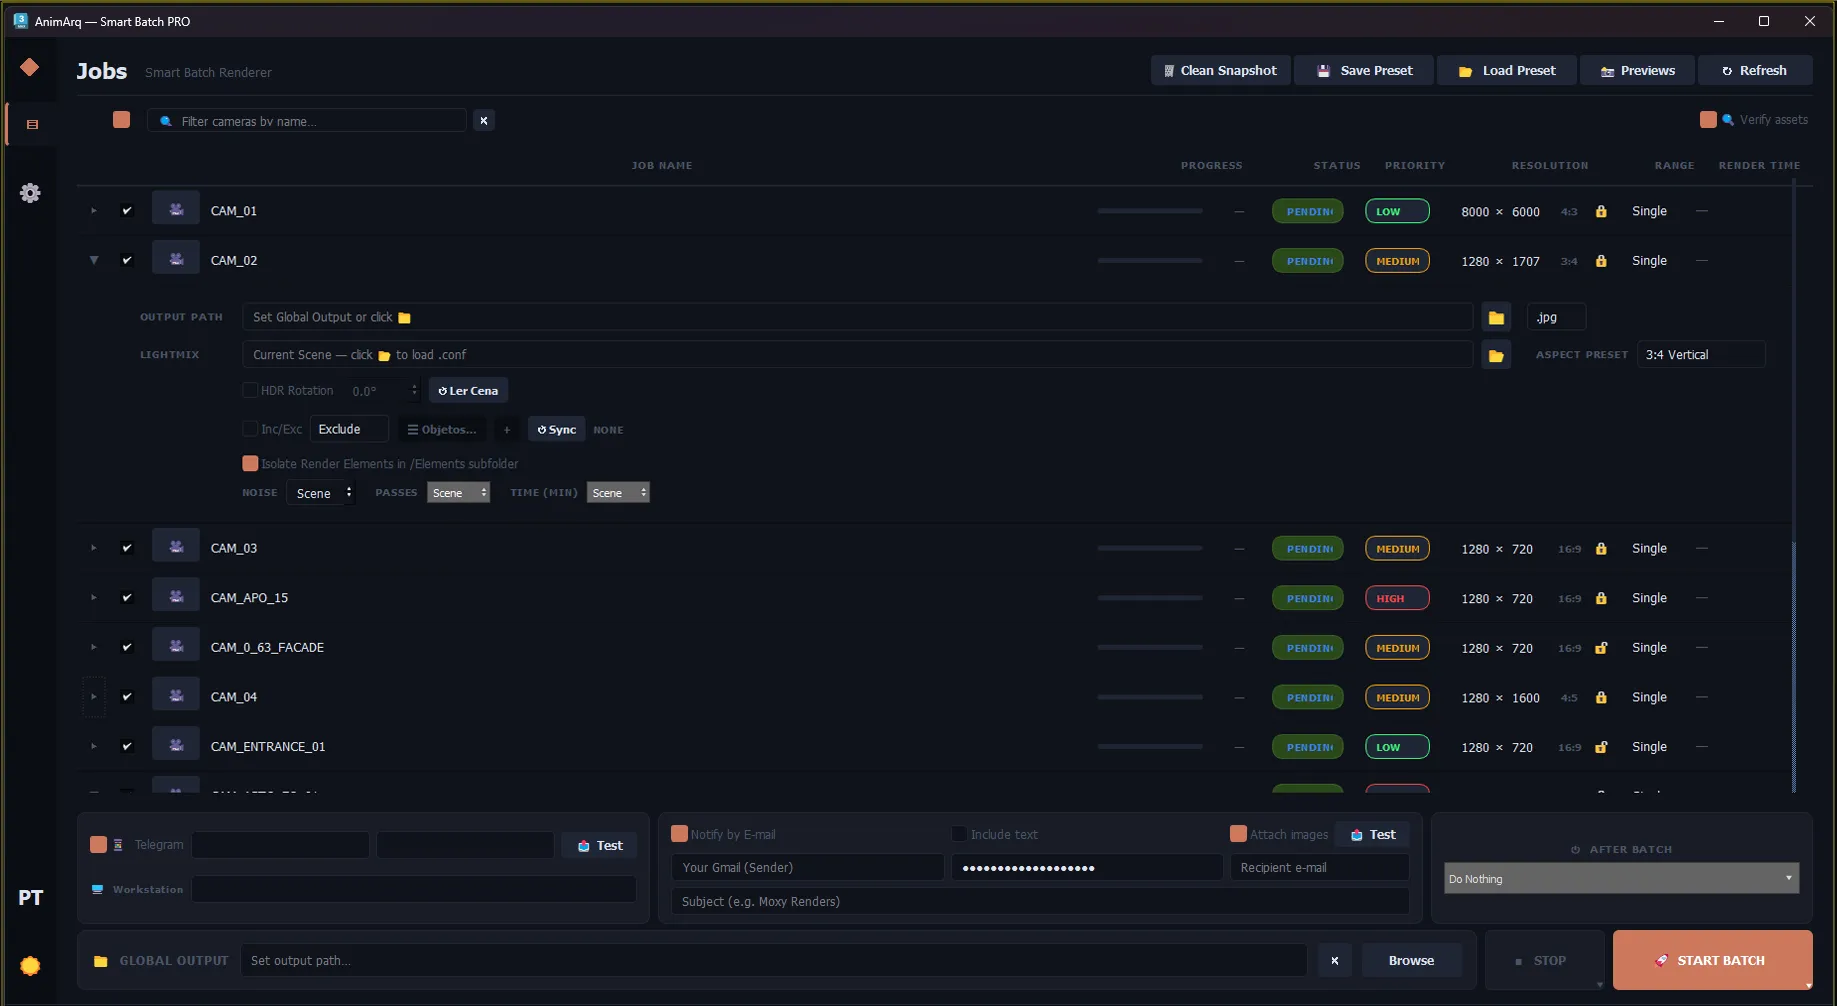
Rendering executes in the background, directing commands straight into the renderer’s core without freezing the graphics interface. With your workstation unlocked, you can open another 3ds Max instance and keep working in parallel.
Before each camera begins, the Asset Checker sweeps texture links
(CoronaBitmap) to prevent black frames, while the Smart Snapshot feature
freezes scene geometry so you can freely continue tweaking materials in the
viewport without interfering with the active render.
If 3ds Max crashes due to an out-of-memory error at 3 AM, the Watchdog takes over: it terminates the corrupted process, quietly restarts the engine, and resumes the queue where it left off within 30 to 60 seconds. Progress, error alerts, and JPEG render previews are pushed directly to your phone via Telegram, letting you track the queue without ever touching your keyboard.