How to remove CAD chamfers in 3ds Max and restore sharp corners
How to clean dense edge bevels from imported CAD or SketchUp models in 3ds Max, why manual edge removal fails, and how to rebuild sharp corners with UnChamfer.
3D models imported from mechanical CAD software (SolidWorks, AutoCAD, Rhino) or downloaded from manufacturer libraries (Revit, SketchUp) arrive with a common flaw: dense, pre-modeled chamfers and fillets on every single edge.
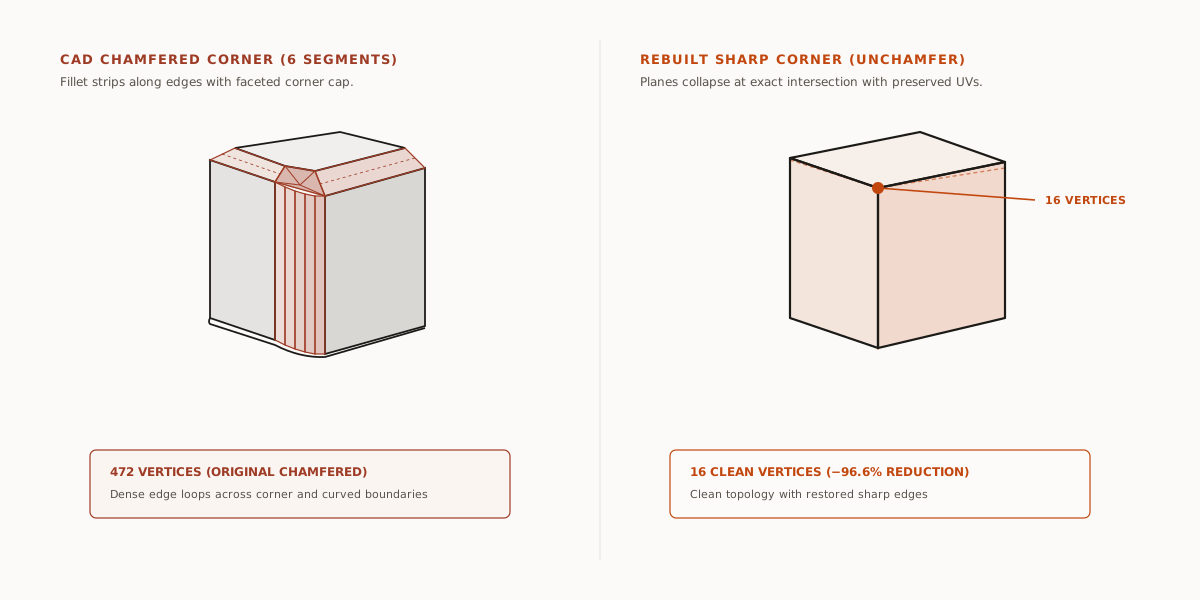
In an architectural visualisation scene, 1 mm bevels divided into 4 to 6 segments turn basic objects into polygon-heavy meshes with dense wireframes that are practically impossible to edit.
This guide measures the polygon overhead of imported models, demonstrates the manual edge loop removal workflow in native 3ds Max, and presents an automated pipeline for sharp corner reconstruction.
The geometry of imported assets: real-world counts
On straightforward geometric objects, such as a kitchen countertop, reception desk, or storage cabinet, edge fillets account for the vast majority of all vertices in the file.
Measured reduction across common catalog assets:
| Asset | Original chamfered verts | Rebuilt sharp verts | Polygon reduction |
|---|---|---|---|
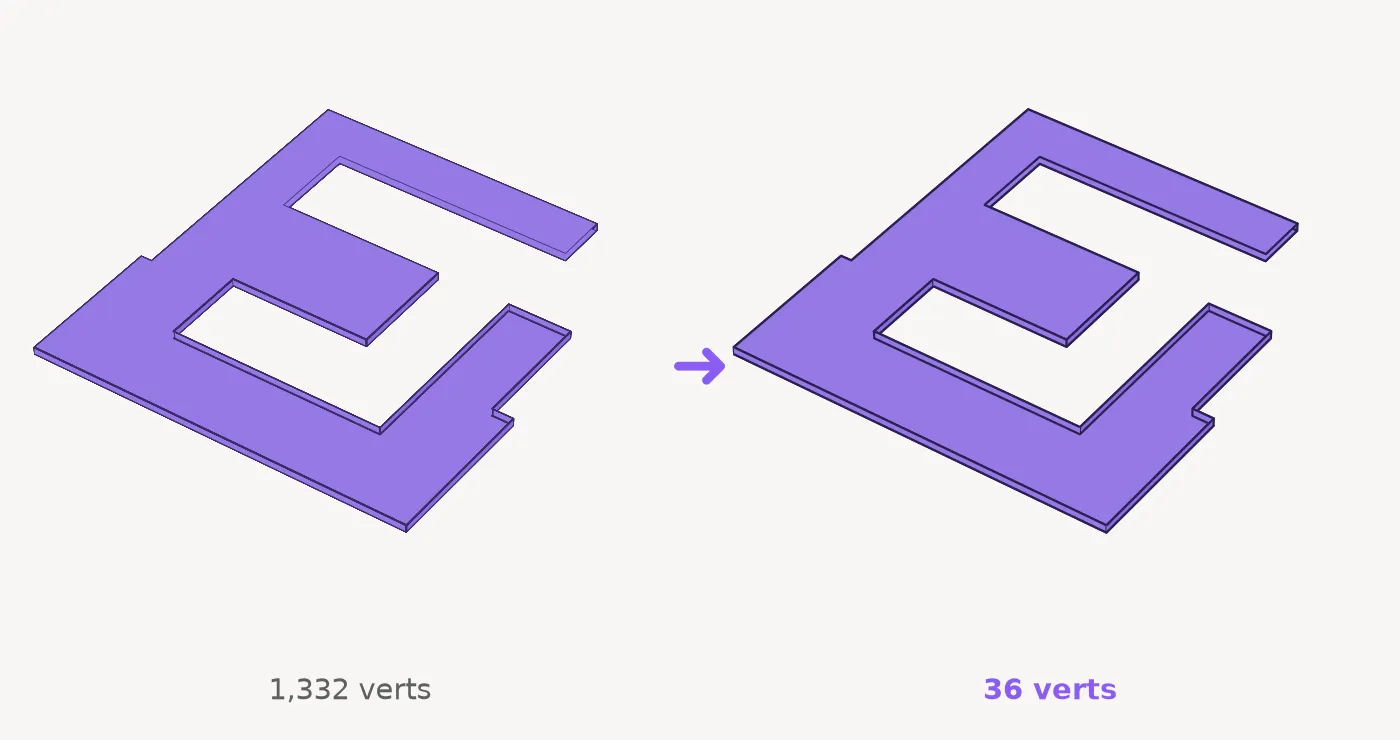
| Countertop with 6-segment edges | 1,332 vertices | 36 vertices | −97.3% |
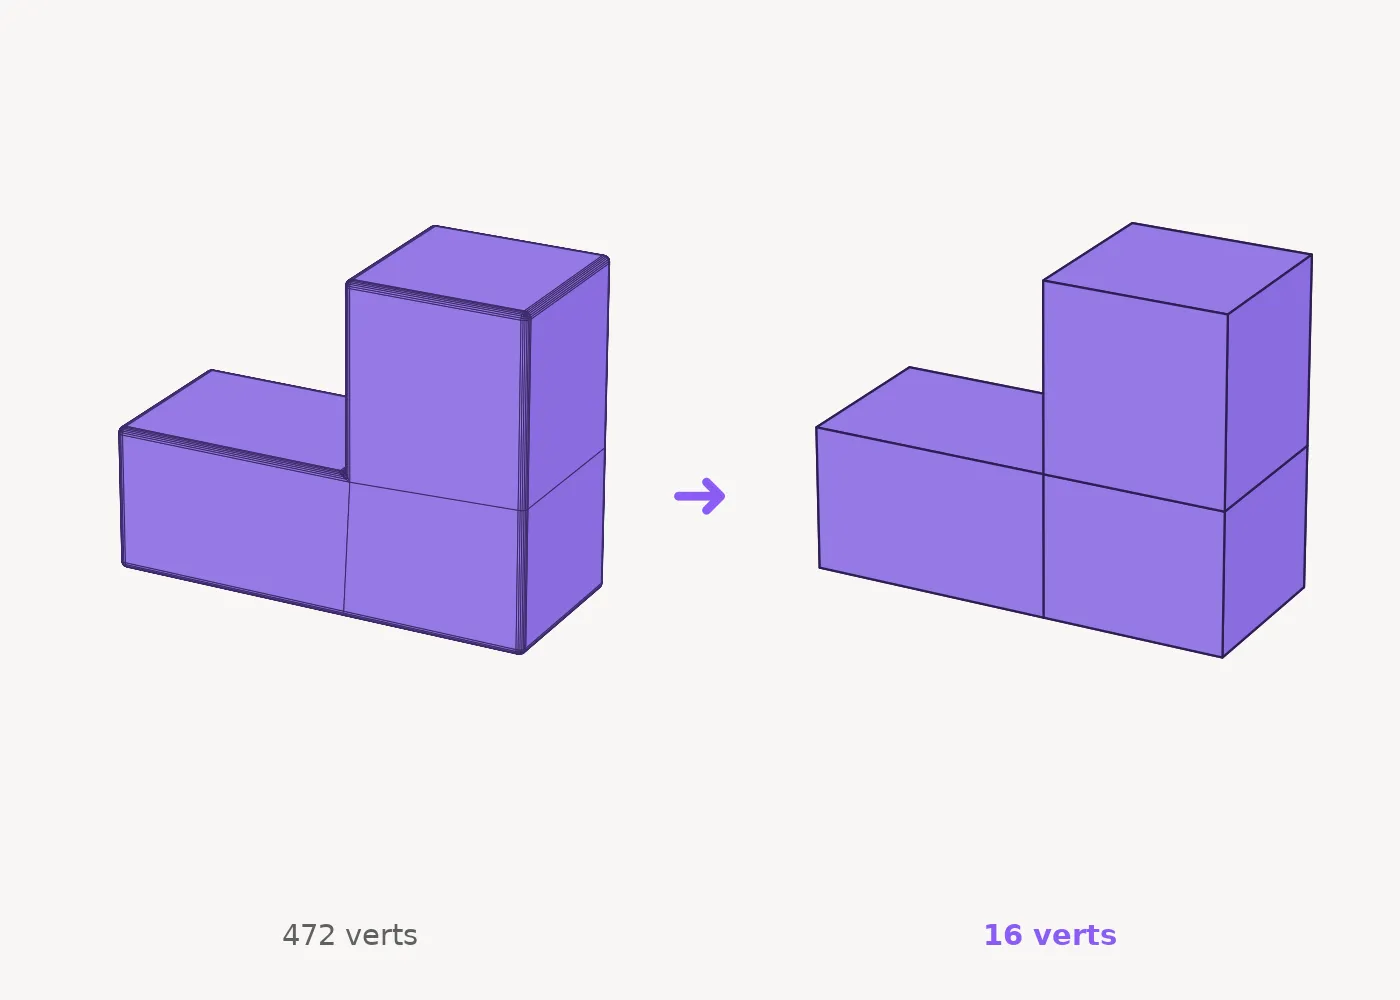
| Chamfered L-shaped niche box | 472 vertices | 16 vertices | −96.6% |
When a scene incorporates dozens of imported chairs, tables, and bathroom fittings with embedded chamfers, total polygon counts quickly reach millions of triangles without adding any discernible value to the final image.
Manual cleanup workflow in Editable Poly
In native 3ds Max, stripping chamfer bands requires selecting edge loops and manually stitching corner vertices:
- Select your imported object, right-click in the viewport, and pick Convert To > Editable Poly (or add an Edit Poly modifier).
- Enter the Edge sub-object level (press 2). Select one of the interior edges running along the chamfer strip and click Loop to select the full ring.
- Hold Ctrl and press Backspace to invoke the Remove command. Holding Ctrl is mandatory: using Backspace alone deletes the edge segments while leaving orphan vertices stranded on the face.
- Repeat this removal for all interior edges along the curved strip, leaving only the two boundary edges defining the main faces.
- At three-way corners where chamfered edges meet (the spherical corner cap), switch to the Vertex level (press 1).
- Select the cluster of remaining corner vertices and use Target Weld (or Collapse) to merge them into a single point.
- Switch to Polygon level, select the adjacent surfaces, and open the Polygon: Smoothing Groups rollout, clicking the Auto Smooth button to recalculate surface normals and eliminate faceted shading artifacts.
The result is a simplified, lightweight mesh ready for subdivision modifiers or clean game-engine export.
Where the manual method breaks down
While feasible on elementary shapes with simple one-segment bevels, the manual process breaks down on complex engineering files:
- Geometric shrinkage at corners. Using Target Weld or Collapse forces corner vertices into one of the existing fillet positions. 3ds Max cannot project the true mathematical intersection of the three original planes. As a result, the bounding box shrinks slightly and adjacent faces lose exact planarity.
- Corrupted topology and non-planar n-gons. Stripping loops across complex junctions leaves non-planar five-sided polygons. Under raytraced lighting, these n-gons produce dark shading distortions that require tedious manual retriangulation.
- Distorted UV coordinates. Collapsing edges by hand distorts existing texture coordinates along perimeter seams, requiring complete remapping.
- Impractical on curved bodies. On cylinders, arches, or curved counters, selecting loops without disturbing the primary radius is tedious and error-prone.
On commercial deliveries featuring dozens of CAD assets, cleaning geometry vertex by vertex becomes a massive production bottleneck.
Rebuilding sharp corners with UnChamfer
UnChamfer is a native C++ modifier for 3ds Max (2023 to 2027) that evaluates surface topology, identifies chamfer strips, and extrapolates original planes to rebuild clean, sharp edges.
- Select the imported object in your scene.
- Add the UnChamfer modifier directly to the modifier stack.
- In default Auto mode, the modifier examines face angles, detects chamfer bands, and collapses rounded strips back to their exact intersection points instantly — no sub-object selection required.
- For complex curved parts, switch to Manual mode, select the chamfer faces in Editable Poly, and let the engine calculate the geometric cap.
The workflow is completely non-destructive: because it operates as a stack modifier, the original geometry remains preserved underneath and can be toggled or adjusted at any time.
The algorithm preserves surface UV coordinates, Material IDs, and face smoothing groups. To protect complex scenes, the tool incorporates layered safety checks: if geometry is ambiguous or planar detection is inconclusive, it halts safely without collapsing rather than damaging your model.
The package also includes the Make Instance utility, whose button is added from the AnimArq category under Customize. Select the original object and its copies, click once, and each copy becomes a real instance of the first object, in the same position. The scene gets lighter, and editing one updates them all.
Without an active license, UnChamfer processes up to 50 chamfer faces and Make Instance converts up to 3 instances per run — providing full functionality to test mesh recovery on your own models.